Meshcentral
Introduction
In corona time we needed a other helpdesk solution than our Dameware Remote Software to manage our workstations. Money was not an issue but time was.
So I discovererd Meshcentral or Meshcentral Github and just until now and further it served us very well.
Some benefits
- Easy Install
- Scalable
- Security
- Terminal Use
- Reliable
Installation
Operating System
Windows Server 2025
Downloads
Installation
NodeJS
2025
NodeJS is version 22.20.2
The installation is pretty state forward.
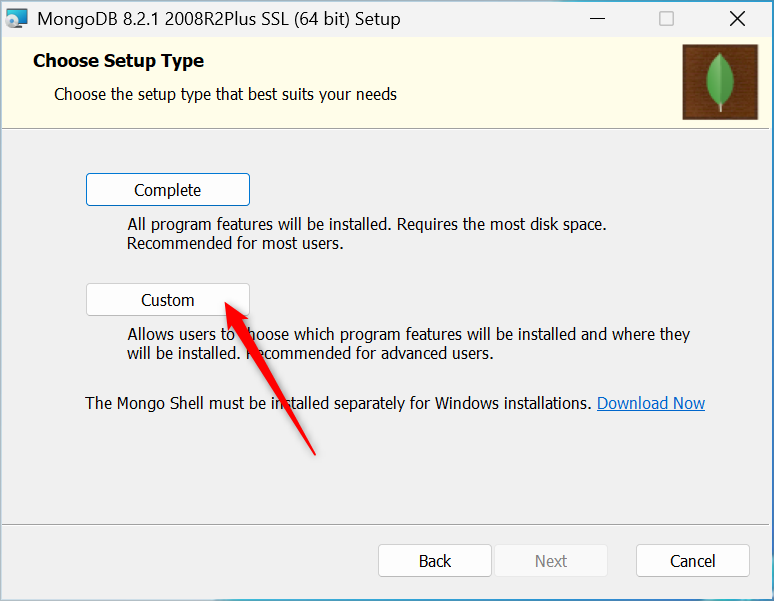
MongoDB
2025
MongoDB is version 8.2.1
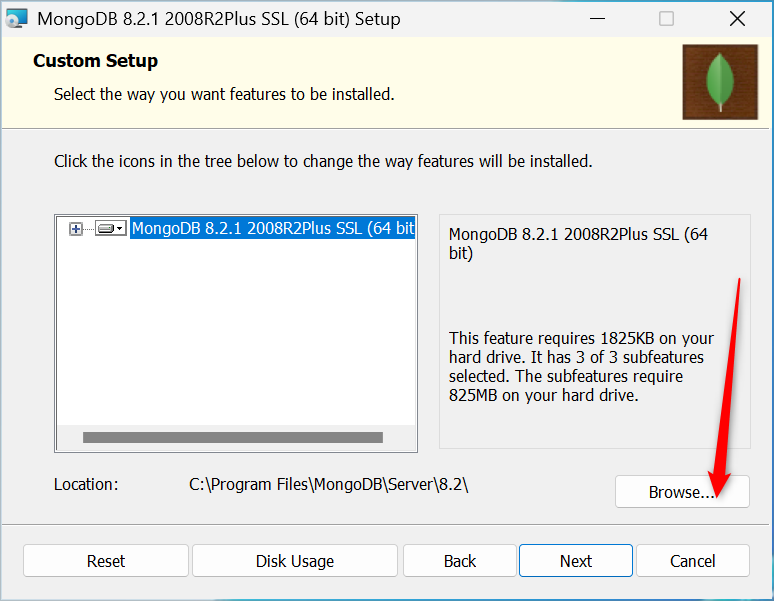
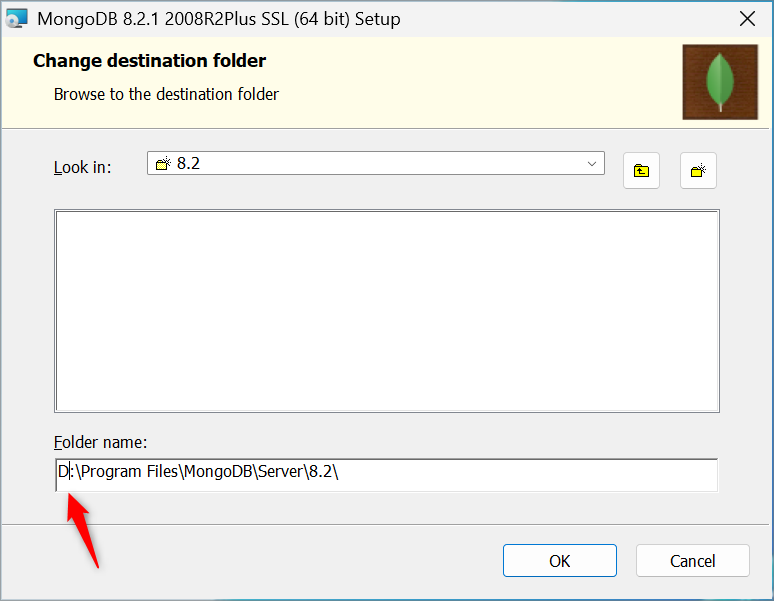
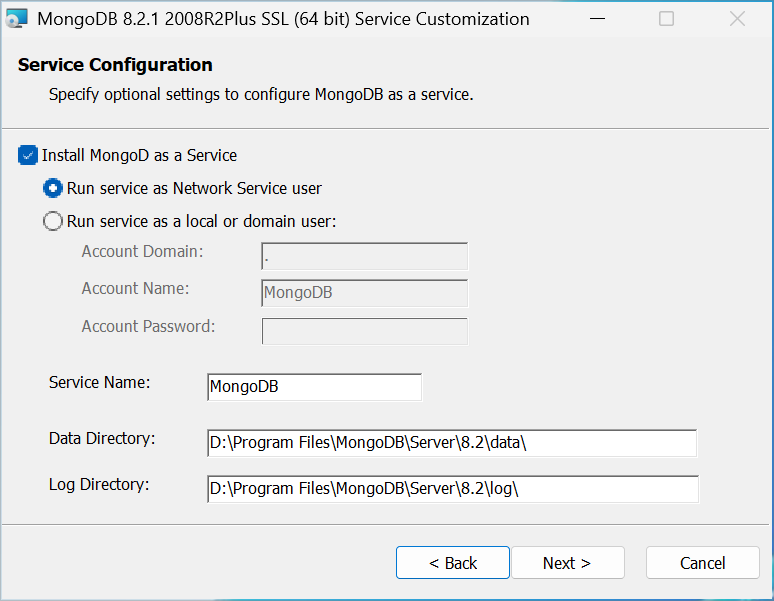
Folder name
Do not install the database on the Operating System Disk
Meshcentral
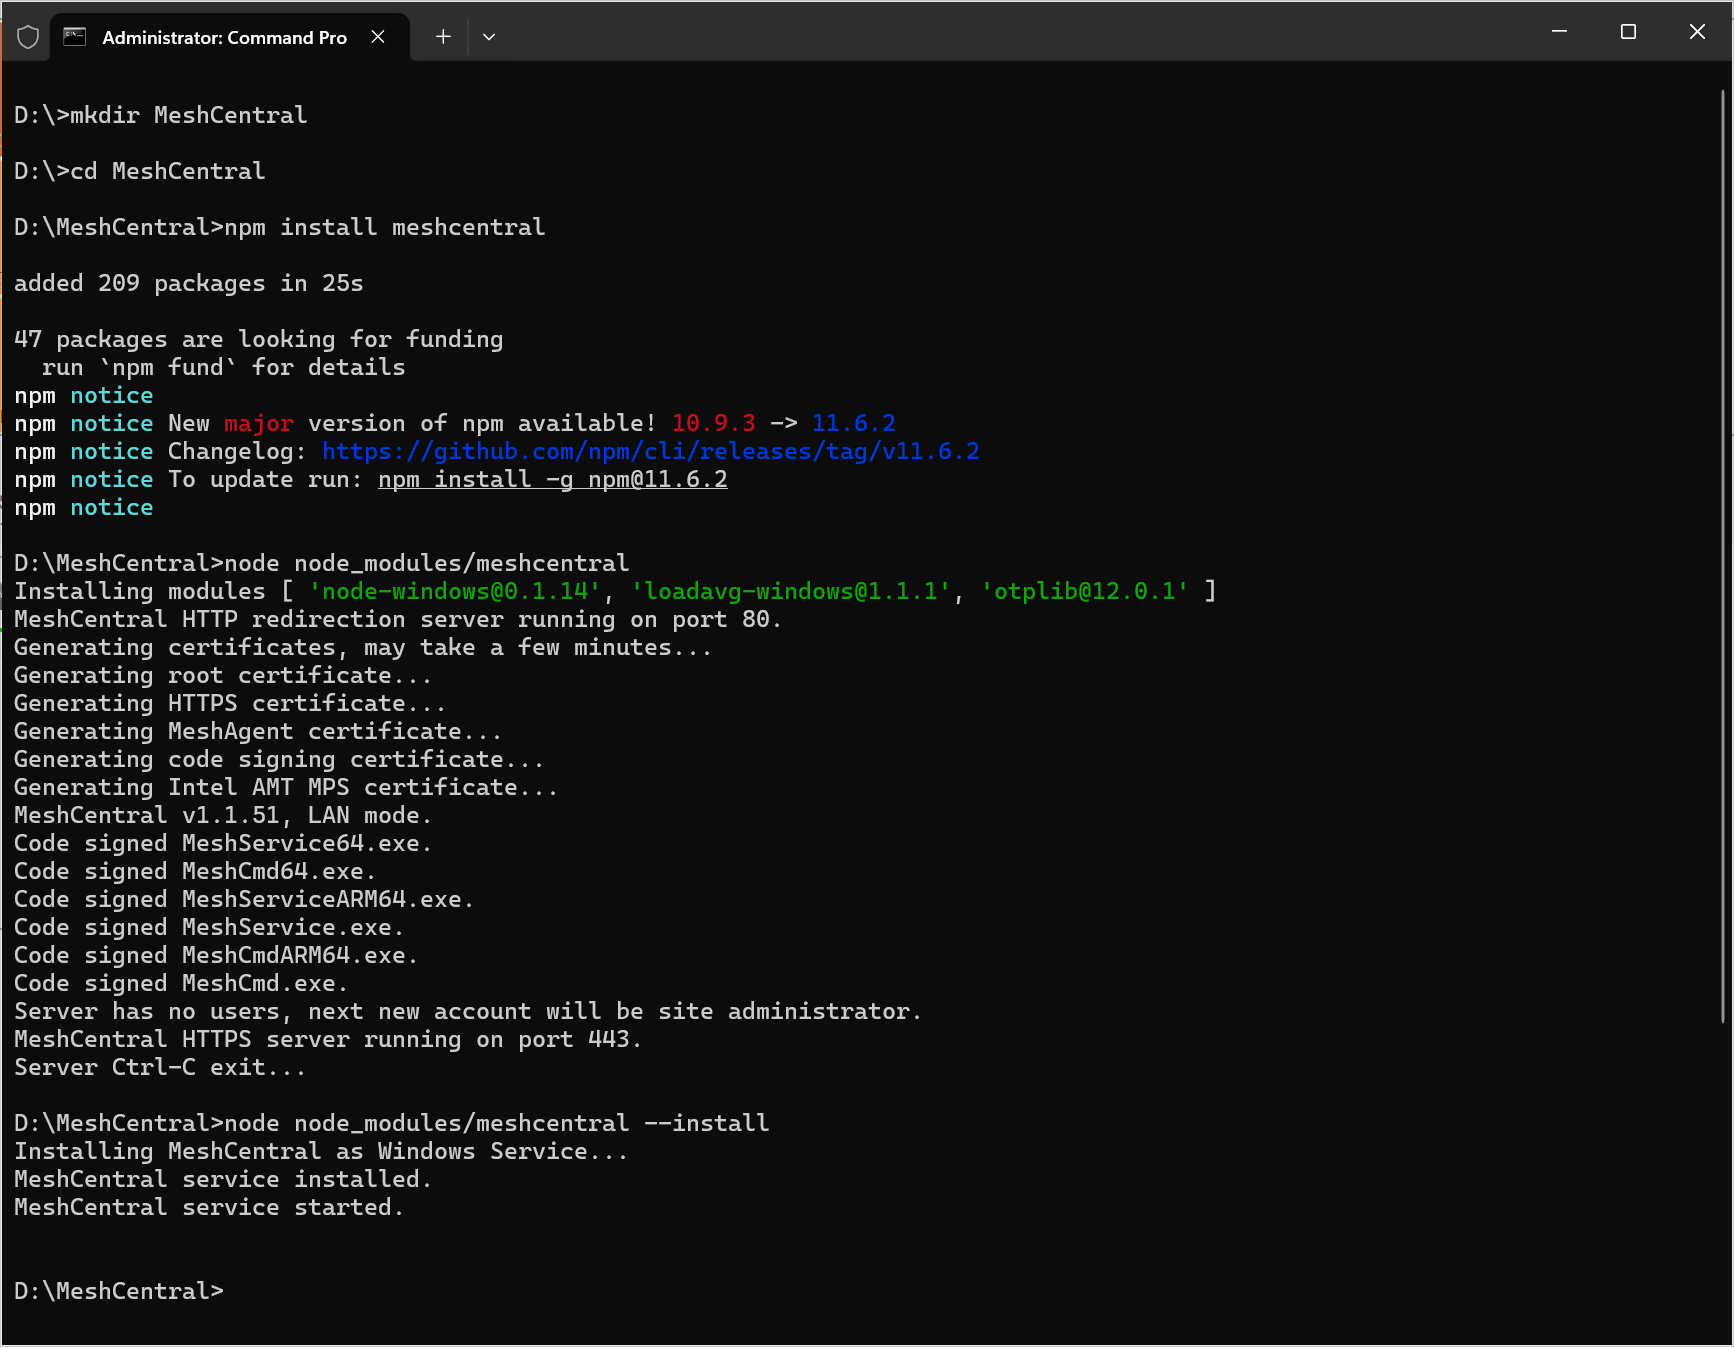
Open Command Prompt as Administrator
 Stop the service with CRTL+C
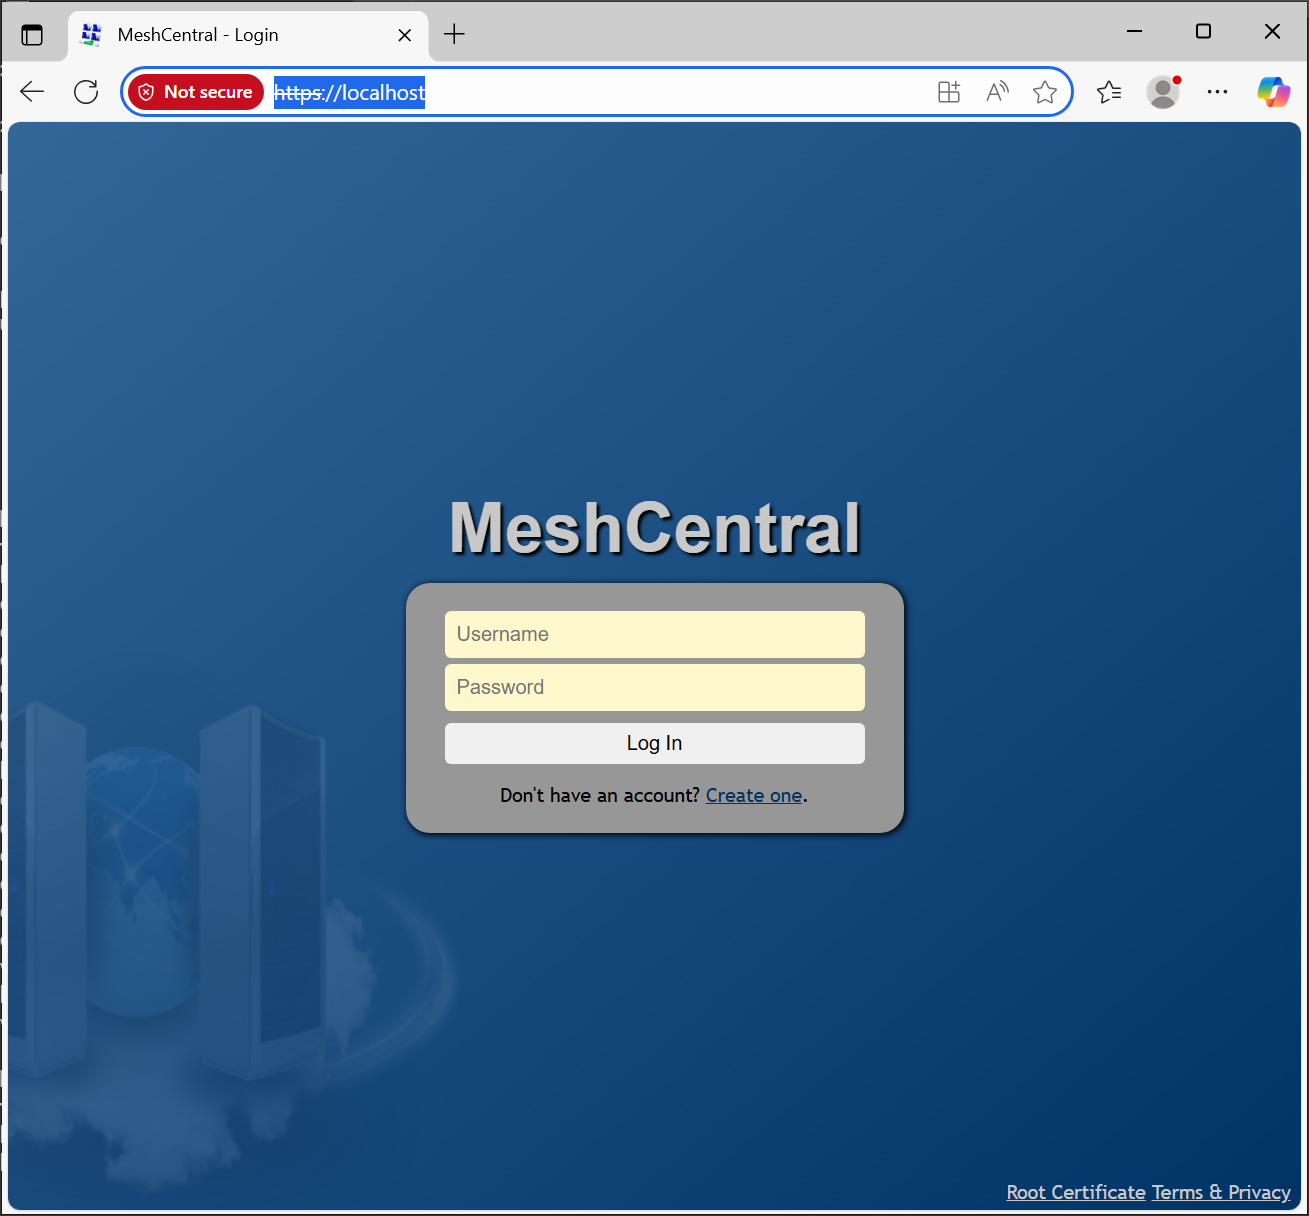
To open Meshcentral from another workstation in your network
- Open Powershell as Administrator
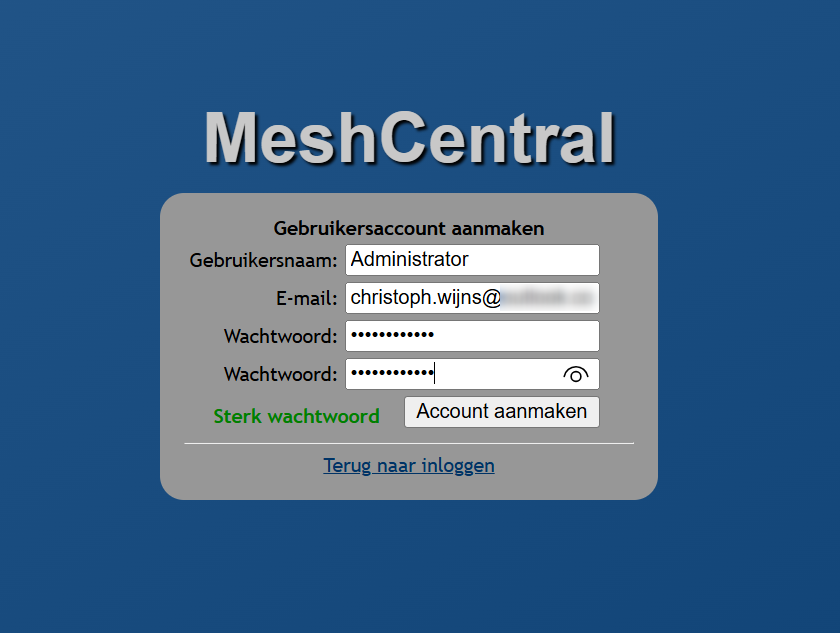
Create Super user
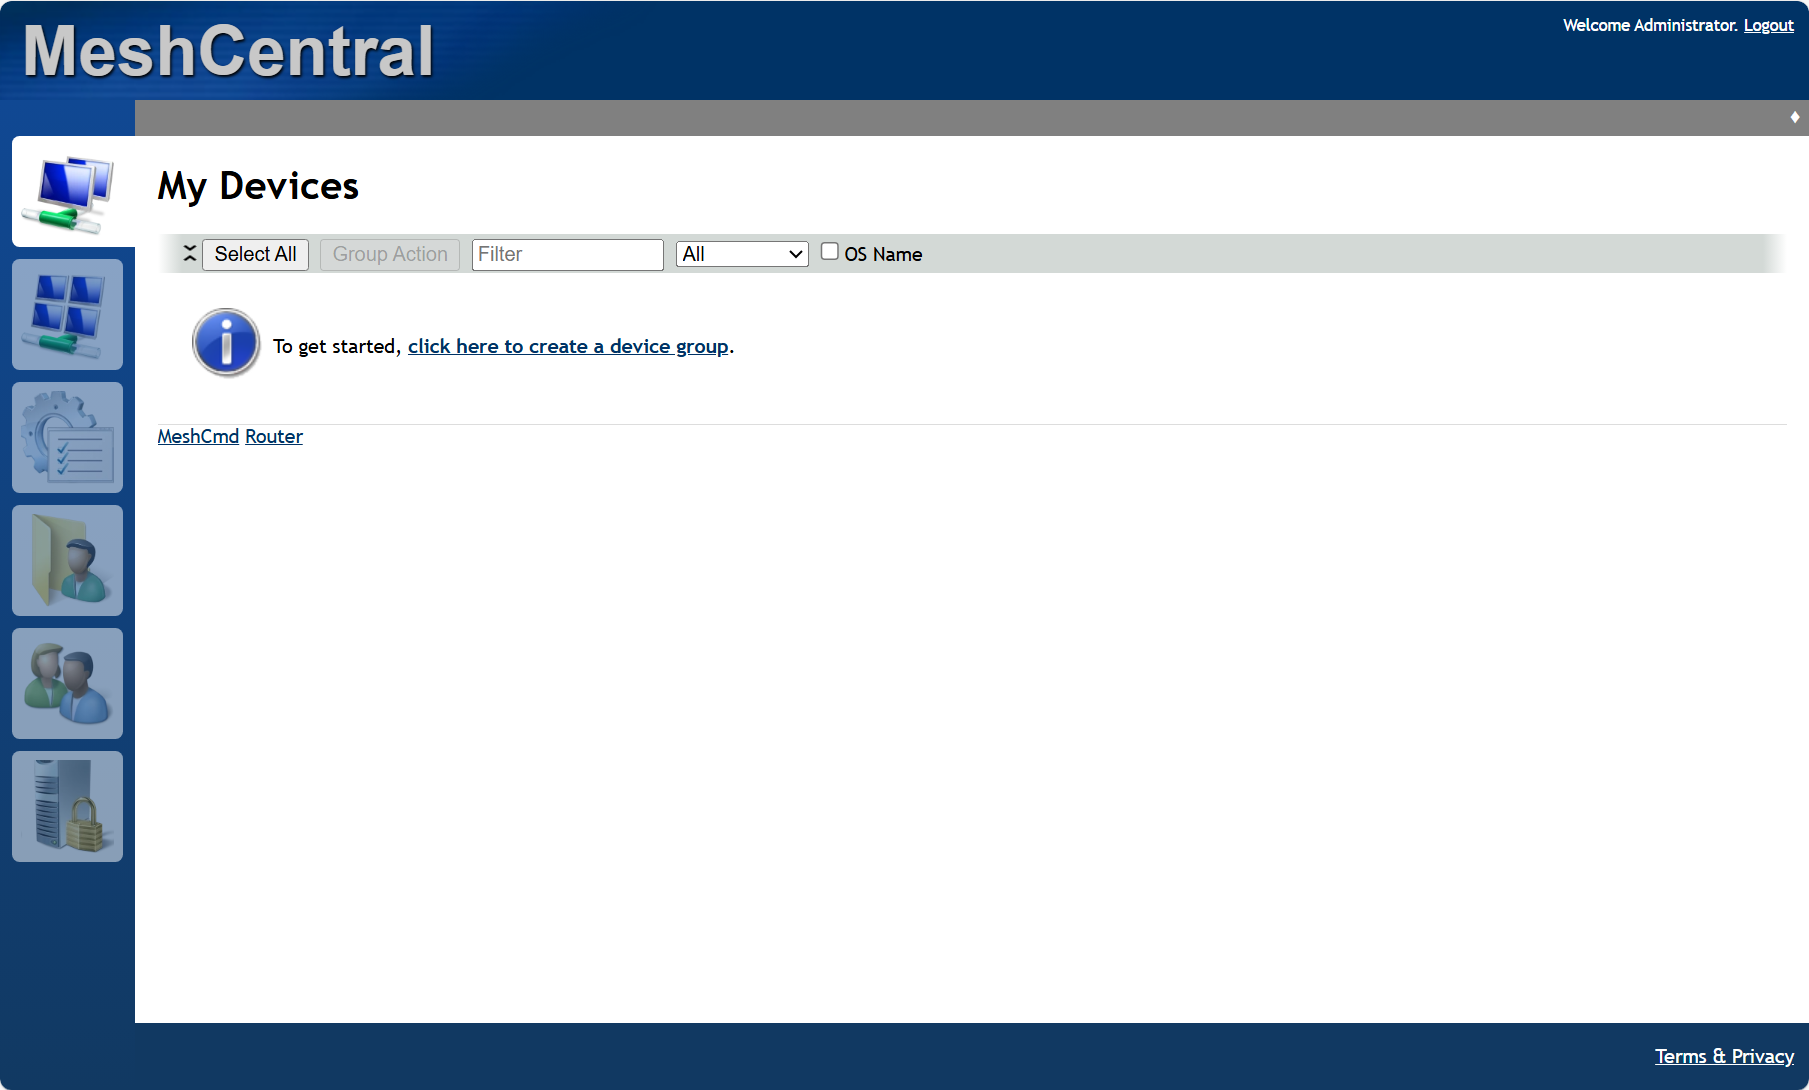
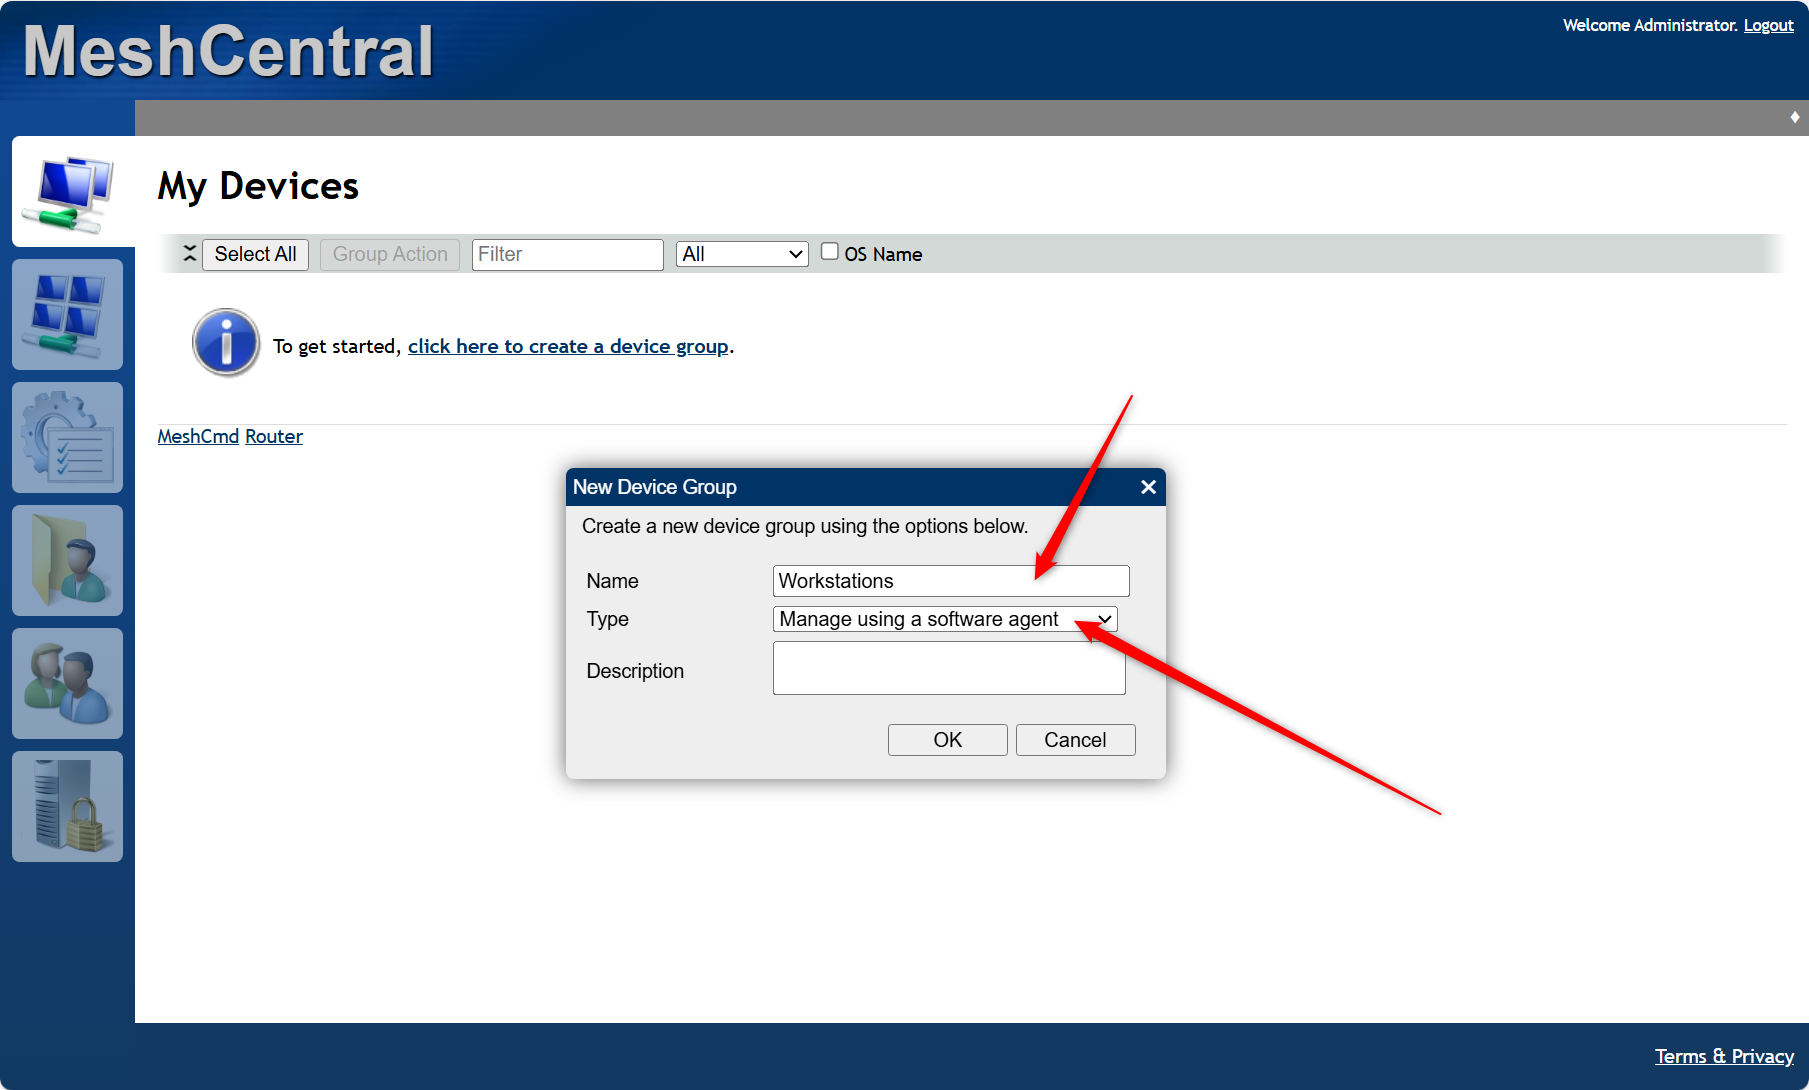
Create a device group
Configuration
The configuration of MeshCentral is done with a JSON file.
Copy default JSON file.
- Open Powershell as Administrator
Tip
You can find simple sample JSON file
You can find advanced sample JSON file
Use jsonlint to validate your JSON file
After you've changed and saved JSON file you'll need to restart Mesh service
Original
The JSON file are in sections.
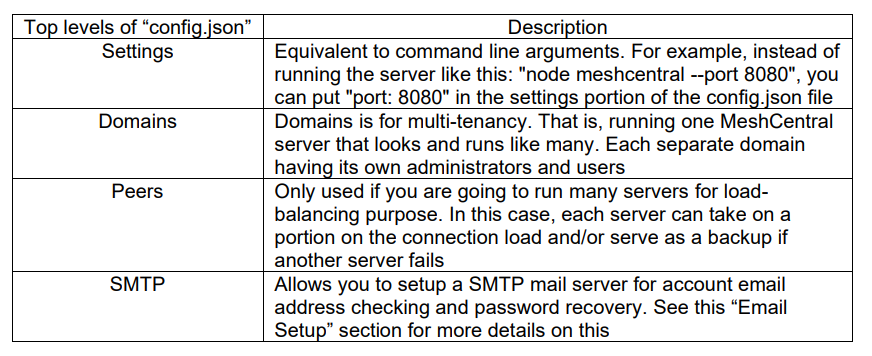
- Settings Section
- Domain Section
Settings
Info
To make it mangeable I'm going to categorize the options by Sections
Ports
Port
This sets the main web port used by the MeshCentral server and it's the same port that users and mesh agents will connect to. The default port is 443, but if the port is busy, the next available higher port is used (.e.g. 444)
AliasPort
Sets the main port that will be used by the server externally. By default is the same as "Port" above, but can be set to be different when next. See "Server port aliasing" section for more details.
I'll be using Opnsense with HAProxy so I'll change this one to 4333
RedirPort
This is the port for redirecting traffic in the web server. When the server is configured with HTTPS, users that uses HTTP will be redirected to HTTPS. Port 80 is the default port. So, redirection will happen from port 80 to port 443.
TLS & URL
I run MeshCentral behind HAProxy in OPNSense. I created a Letsencrypt certificate in OPNSense and downloaded it. Then I use OpenSSL to extract the CRT & KEY.
Copy webserver-cert-private.key and webserver-cert-public.crt to D:\MeshCentral\meshcentral-data
Cert (1)
Sets the DNS name of the server. If this name is not set, the server will run in "LAN mode". When set, the server's web certificate will use this name and the server will instruct agents and browsers to connect to that DNS name. You must set a server DNS name to run in "WAN mode". MeshCentral will not configure your DNS server. The DNS name must be configured separately.
- Settings Section
TLSOffload (1)
By default this option is set to 'false'. If set to 'true', server will run both web port and the Intel AMT MPS port without TLS with the assumption that a TLS offloading is taking care of this task. For further details, see the "TLS Offloading" section.This option can also be set to the IP address of the reverse proxy in order to indicate to MeshCental to only trust HTTP XForwarded headers coming from this IP address. See the "Reverse-Proxy Setup" section for an example.
- Settings Section
CertUrl (1)
Load the TLS certificate for this domain from this https url. For example "https://127.0.0.1:123". This option is useful when used along with the "TlsOffload" option. When Important: Changes in config.json will NOT take effect until server is restarted. MeshCentral is not doing any TLS but has a reverse-proxy or TLS offload device doing this work in front of the server, you can use this to have MeshCentral load the certificate from the server in front of MeshCentral. This is needed because when agents connect, they need to be told that the certificate they saw upon connecting is the correct one. Using this, MeshCentral will know what certificate the agents are expected to see
- Domains Section
MongoDB
Install
Open CMD as Administrator
JSON File
Backup
Unzip and copy monogdump.exe to D:\Program Files\MongoDB\Server\8.2\bin
Create folder D:\Backups
- Settings Section
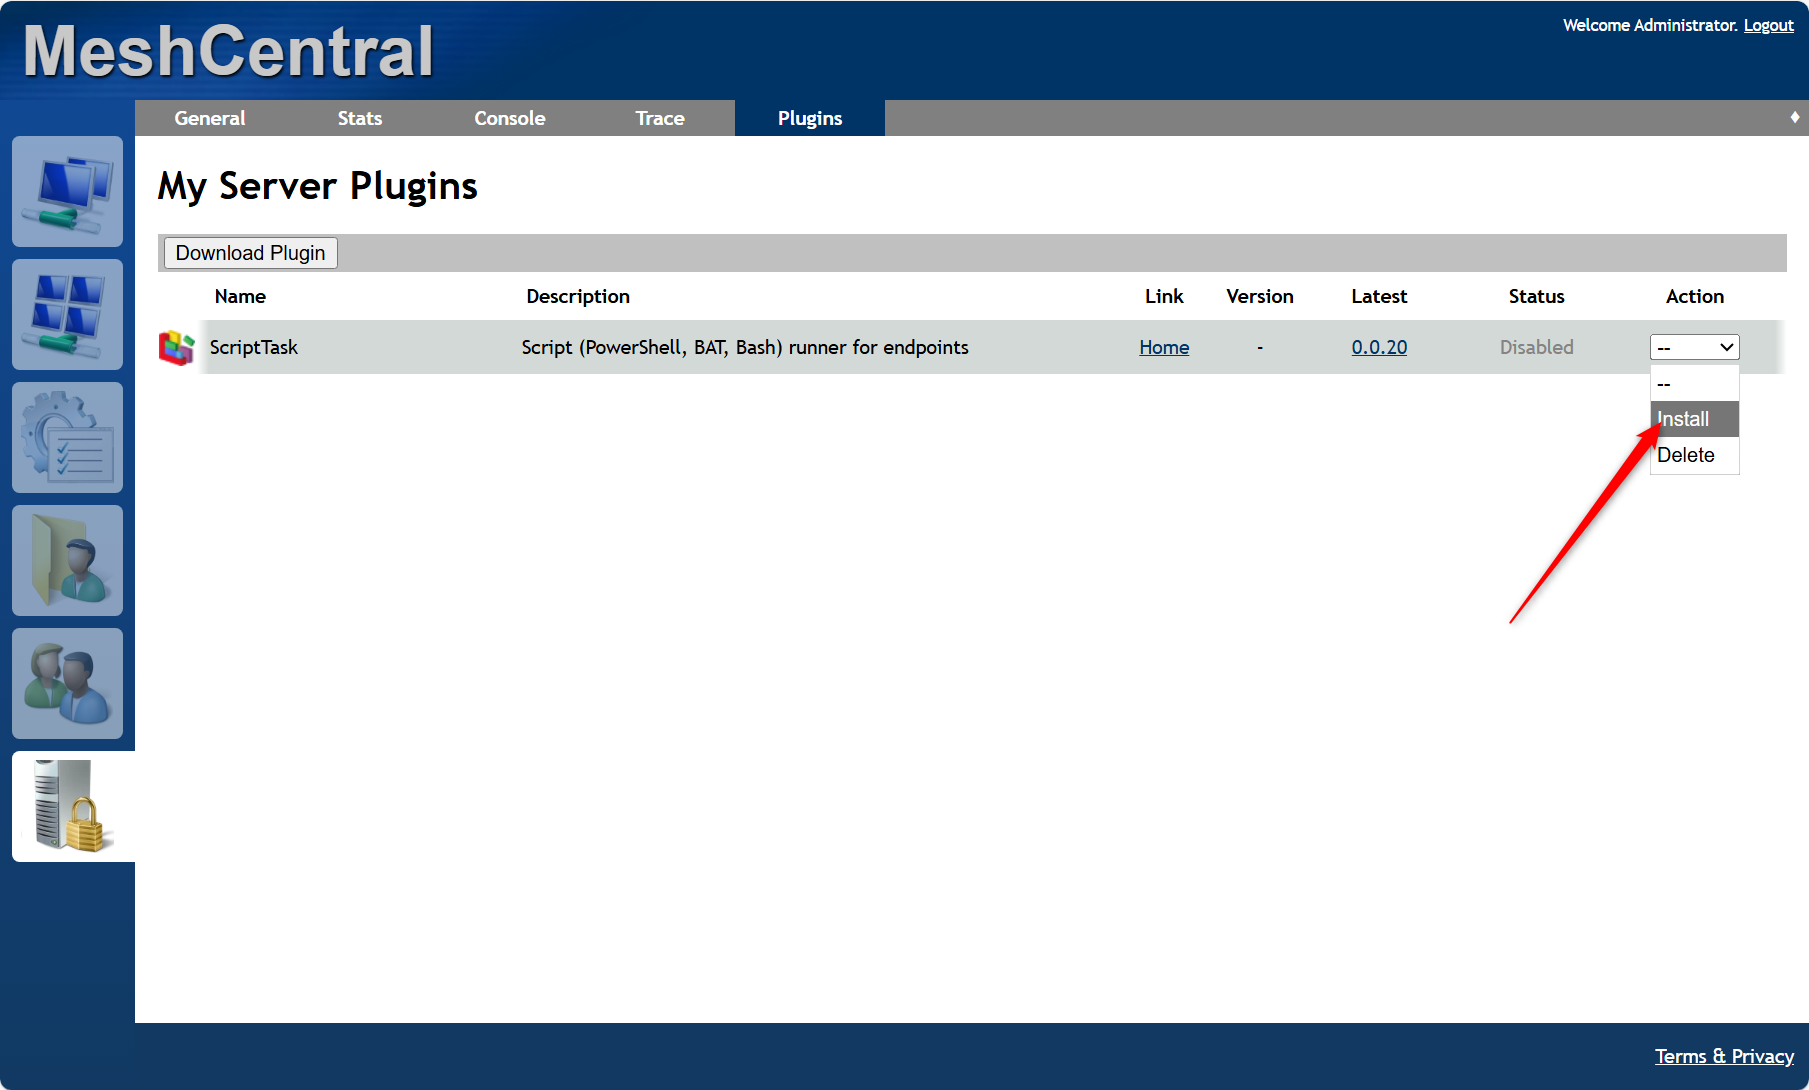
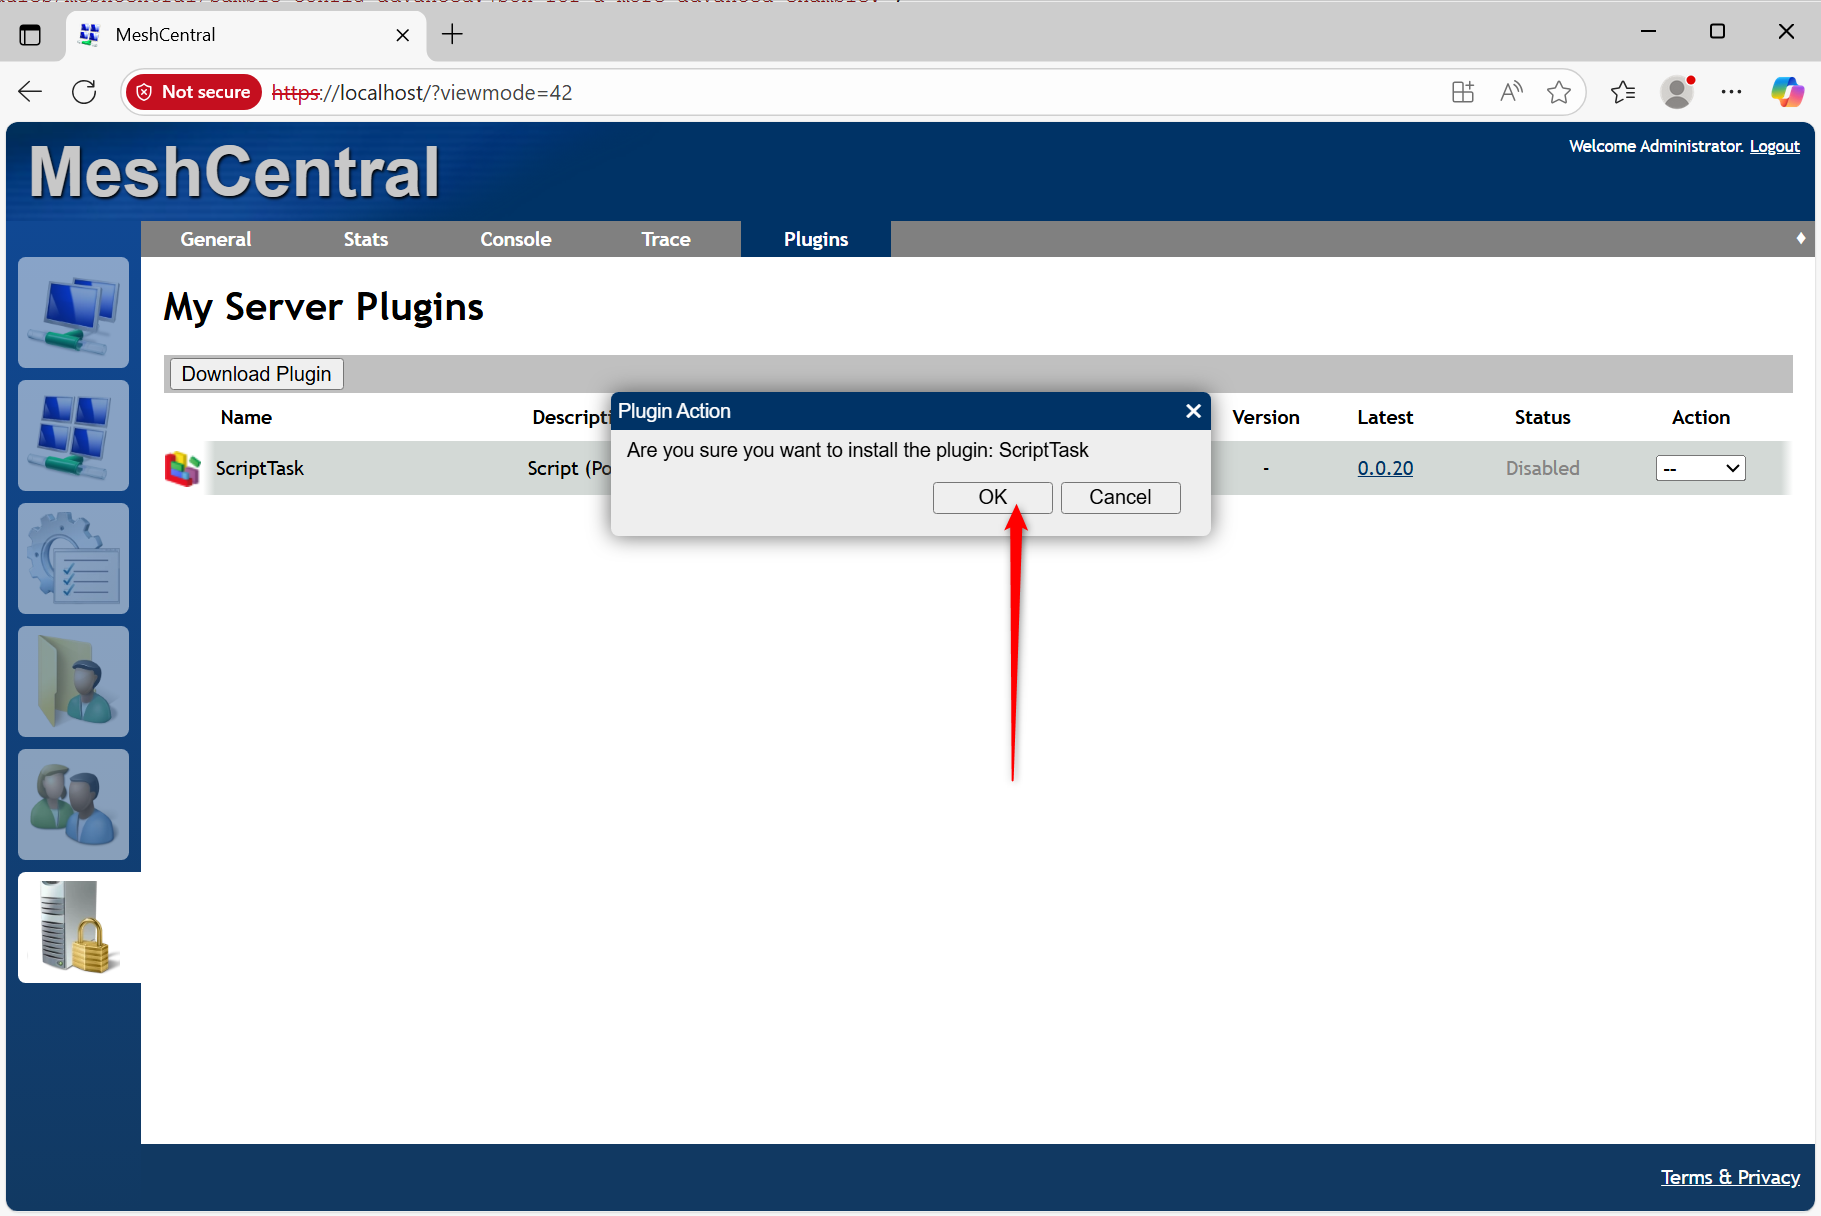
Plugins
General information about plugins.
Warning
This is @ own risk
You find 3th party plugins here.
Copy paste the url from
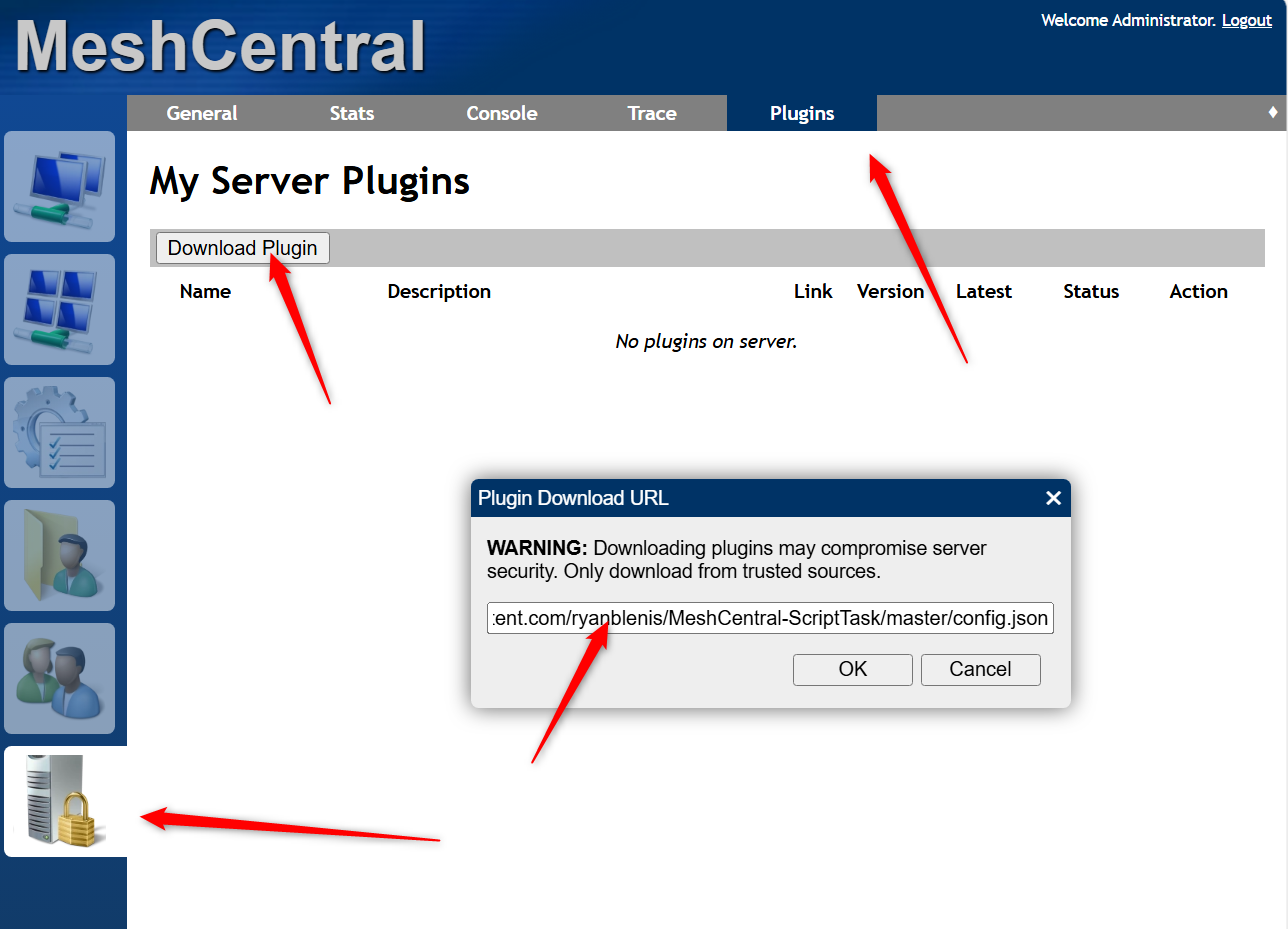
Example ScriptTask
Domains
Troubleshooting
"D:\MeshCentral\WinService\daemon\meshcentral.err.log"
"D:\MeshCentral\WinService\daemon\meshcentral.out.log"
npm install --no-audit --no-optional --omit=optional https-proxy-agent@7.0.2
autoAccepOnTimeout and autoAcceptIfNoUser
  "consentMessages": {
    "Title": "MeshCentral",
    "Desktop": "{0} 请求远程桌面访问。是否授权?\n{1} is requesting remote desktop access. Grant access?",
    "Terminal": "{0} 请求终端访问。是否授权?\n{1} is requesting terminal access. Grant access?",
    "Files": "{0} 请求文件系统访问。是否授权?\n{1} is requesting file system access. Grant access?",
    "consentTimeout": 60,
    "autoAcceptOnTimeout": true,
    "autoAcceptIfNoUser": true,
    "oldStyle": true
  },